


|
Define Path
|
|
| · | The shape to use for this contour will be preselected to Shape 0 as this is the only shape available.
|
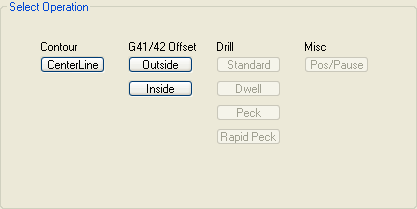
| · | The Conv. or Climb option sets the direction the tool will move around the shape. A climbing cut outside would be in a clockwise direction.
|
| · | Full Depth: enter 1 to cut the shape to a depth of 1 inch.
|
| · | Z Axis Step: enter .1 for each pass to cut a maximum of 1/10 of an inch on each pass.
|
| · | Tool: enter a diameter of .25 for a 1/4 inch end mill. As soon as you enter the tool diameter, the lead in/out moves are calculated and shown in the display area as well as the speed, feed and plunge.
|
| · | Enter "1/4 end mill" as a description. This description will be included in the generated g-code as a reminder for what tool the code was generated.
|
| · | For off set compensation, select the second segment by clicking the plus to increase the segment number which contains the compensation moves. You will see the compensation move relocate to the second segment. The Seg% moves the location of the compensation move from 0% to 99% along the selected segment. The compensation move is only shown after the tool has been selected or the diameter entered. The compensation move is always 150% the tool diameter.
|
| · | Leave "Stock to leave" blank for now. It is possible to define a finishing pass allowance and then add another "contour left" operation to the machine queue at say full depth in one pass with no allowance.
|
| · | The compensation strategy selects where the compensation moves occur. Select "First/Last pass" to have the compensation occur only on the first and last pass. The other options "At Safe Z" makes the moves at Safe Z height so it will not remove stock and "Every pass" makes the moves at every Z axis step.
|
| · | Increase the feed and plunge if necessary by clicking on the plus next to these settings.
|
